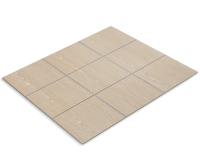
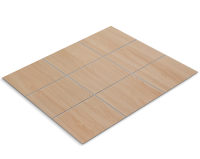
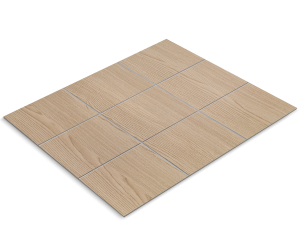
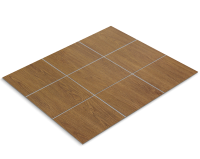
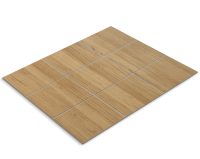
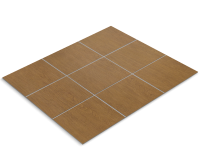
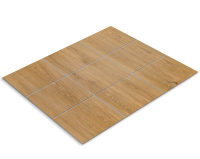
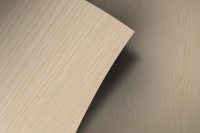
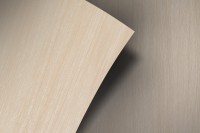
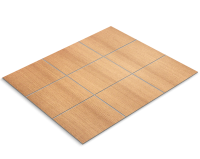
Tile film, willow
- self-adhesive
- Indoor assembly
Price per m²: €29.16 Price per m²: €21.87 incl. VAT plus shipping costs. Item no. 911154
| Quantity | Unit price |
|---|---|
| to 24 | €0.90 |
| from 25 | €0.76 |
| from 50 | €0.63 |
| from 100 | €0.49 |
| from 251 | €0.45 |
Delivery time approx. 5-7 Days
CNC cutting accurate to the millimetre
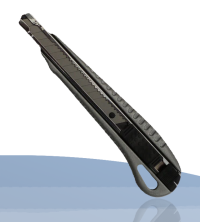
free assembly tool
| Liability | self-adhesive |
| Mounting side | Indoor assembly |
| Material thickness | approx. 230 µm |
| Durability | 10 years (indoor installation) |
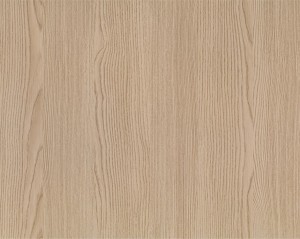
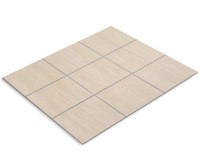
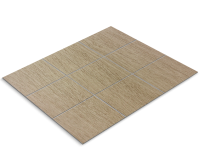
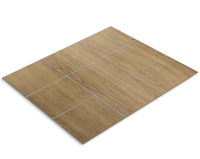
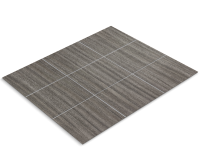
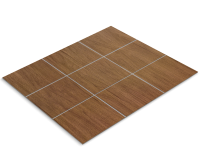
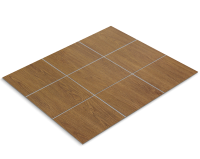
| Colour | light brown |
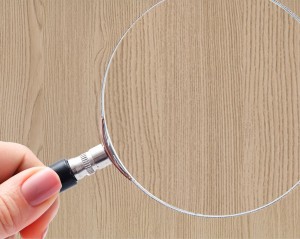
| Grain | rough |
| Application | Floor tiles, Wall tiles |
| Temperature resistant | -20°C to +110°C |
Start WhatsApp chat
Let them shine in new splendour!
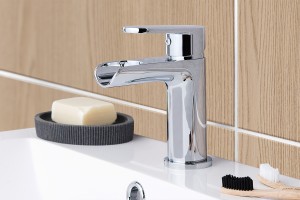
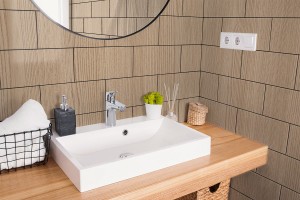
It's child's play to cover your old, boring bathroom or kitchen tiles with our tile foils in many different decors and colours, perfectly tailored to your size.
The tile foils are primarily intended for the embellishment of wall tiles. Floor tiles can also be embellished to a certain extent, but you should bear in mind that the mechanical stress on the foil, e.g. from walking on it with shoes, can lead to damage to the foil surface.
Furthermore, our tile foils are completely insensitive to moisture. In short, a unique, innovative product that allows you unlimited creativity at low cost.
Advantages of tile foils
- Cost-efficient: Save a lot of money compared to traditional renovation.
- 3D deformable: Strongly rounded tile edges can be easily pressed on with a hairdryer.
- Durable: 10-year guarantee against delamination, cracks, yellowing and other changes in appearance.
- Hygienic: Quick and easy to clean, prevents mould and staining.
Tested for safety
- Tested A+ for VOC emissions (volatile organic compounds).
- Fire resistance rating according to Euroclass B S2 D0 for use in public areas
The decor of this tile foil runs in the longitudinal direction, i.e. from top to bottom (vertically). Therefore, when entering the dimensions, please ensure that the width and height are not reversed, as otherwise the decor will be rotated by 90°! Please compare the following sketch:

Manufacturer's guarantee
The manufacturer provides a 10-year guarantee on this tile foil for interior installation. This warranty covers delamination, cracks, yellowing and other changes in appearance. The durability of the tile film for interior installation is up to 15 years in Central Europe, depending on various factors.
The film has excellent abrasion resistance against acid (ethanol, salt), stains, dirt and mould, except xylene.
| Technical overview | |
|---|---|
| Specifications | Calendered PVC film with polymer adhesive coating |
| Thickness | 200 to 350 microns |
| Max. roll width | 122,0 cm |
| Tear strength | Width: 5.1 kg / cm Length: 6.9 kg / cm |
| Elongation | up to 220 |
| Elongation (after 48 hours at 65 °C) |
Width: 0.9 % Length: 0.6 % |
| Tensile strength | Width: 262 kg / cm Length: 230 kg / cm |
| Adhesive | Acrylic and active, insensitive to moisture |
| Adhesive strength | 20 min after installation: 1.04 kg / cm 24 h after installation: 1.43 kg / cm 3 days after installation: 1.51 kg /cm 7 days after installation: 1.65 kg /cm |
| Adhesive strength (max. 70 °C) | After 1 day: 1.37 kg / cm After 7 days: 1.03 kg / cm |
| Ideal installation temperature | 20 °C to 25 °C (min. 12 °C and max. 35 °C) |
| Installation instructions | Dry bonding with a suitable squeegee. Shape bonding possible using a hot air gun. |

Assembly instructions for Tile foils (self-adhesive)
You will need the following items
- Plastic bottle with hand sprayer, adhesive tape, paper towels (not included)
- Transfer concentrate (not included)
- Glass cleaner (not included) or commercially available glass cleaner
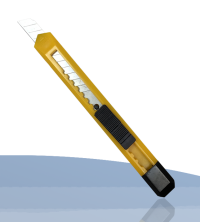
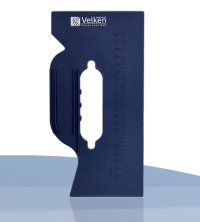
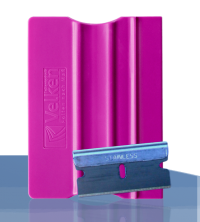
- Installation squeegee and glass scraper blade (included free of charge in the delivery).
Installation tips
- Two people should carry out the installation!
- Do not install any film at temperatures on the installation side below +6° C.
- Fill the spray bottle with 0.5 litres of water and add the transfer concentrate (30 ml) (enough for approx. 6 to 7 m² of glass surface).
-
Thoroughly clean the glass with commercial or our glass cleaner!
Remove all sticky particles (e.g. paint or fly dirt) preferably with the glass scraper blade. No dirt residues should remain on the glass! - The sandblasting foil consists of the mostly white backing paper and the actual sandblasting foil.
Now place the sandblasting foil with the view side down on the glass pane or similar. You are now looking at the back of the film.
Then carefully and slowly peel off the backing paper at as shallow an angle as possible until it is about halfway along the entire length of the film. Cut the backing paper and stick it back onto the sandblasting film with a gap of about 2 cm to the remaining backing paper. - Now hold the in place while the 2nd person
starting from the corner, and at the same time spray the adhesive side of the that is now exposed with the liquid.
Afterwards, the glass pane (surface to be pasted) must be sprayed with the liquid. Do not be sparing with the liquid, the film and pane should be well wet. - Place the on the glass, the film should slide back and forth well, otherwise spray the glass again.
- Now spray the other side of the as well, this will make it easier for you to work with the mounting squeegee.
- Now press the liquid out evenly with the mounting squeegee from the centre to the right and to the left. Make sure that there is no residual water left under the film! Repeat this procedure several times to remove even invisible water residues. When doing this, wrap the supplied squeegee with a paper towel to avoid any scratches.
- Carefully wipe the edges and the foil with a soft cloth. If necessary, press the edges again with the mounting squeegee.
- Now let the dry for three days without touching it.
- Wait two weeks before cleaning the film for the first time and never use hard objects (brush or blade) to clean it. Commercially available glass cleaners can be used.
FAQ`s about the installation
Can I carry out the film installation alone?
For larger pieces, it is recommended that two people carry out the installation. This makes it easier to handle the film and place it on the pane.
How can I avoid dust inclusions under the adhesive back side?
In addition, do not lay the after peeling off (covers the adhesive side for transport) on the floor to get it wet. Rather, pull a table nearby to spray the film on. On the floor you will always stir up very fine dust particles, which will then settle on the adhesive side facing upwards. These dust particles can later show up on the pane under the , which is something to avoid.
Can I apply the without transfer concentrate?
We strongly advise against the use of water diluted with detergent. This can lead to streaking due to a reaction with the film adhesive.
Does the film have to be applied perfectly to the glass at the first attempt?
After mounting, small bubbles formed the next day
In any case, you should wait this time and do nothing. In most cases, the blisters disappear all by themselves!
How easy is it to remove the film?
It is possible that residues of the film adhesive remain in some places. These can be soaked with our adhesive remover or acetone and then removed again with a glass scraper or ceramic field scraper. You will find detailed instructions on how to remove window films on our homepage in the FAQ`s.
We will be happy to send you a free sample of this and up to four other films without obligation.
The samples are approx. 9 x 9 cm in size and will be sent to you free of charge and without obligation by letter post.
|
1. select sample (max. 5 pieces)
|
||
|
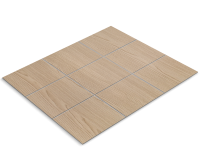
Tile film, willow Art.-Nr. 911154 |
|
|
Please select at least one sample!
|
||
- Germany
- Austria
- Switzerland
- Belgium
- Denmark
- France
- Gibraltar
- Greece
- Ireland
- Italy
- Liechtenstein
- Luxembourg
- Malta
- Monaco
- Netherlands
- Norway
- Poland
- Portugal
- Sweden
- Slovakia
- Slovenia
- Spain
- Czech Republic
- United Kingdom
- United States of America
We have received your foil requests.
The samples are usually sent to you within one working day.

Film specialist, Dirk Bilstein - Application engineer
" I will be happy to give you expert advice on choosing the right film! "

Rate this item objectively and share your buying experience with other visitors.
As a thank you, we will reward you with a shopping voucher* of up to 10€ for your next purchase.
*Voucher valid for 1 year, redeemable from 30€ value of goods (5€ voucher) or 50€ value of goods (10€ voucher), max. 1 voucher per order, not combinable.
The voucher will then be sent to you by email.
You will receive an email from us after the rating has been activated in which you will find the shopping voucher.
New reviews are activated by us every working day.
The company Velken-Folientechnik GmbH accepts this assignment and ensures the necessary data protection.

