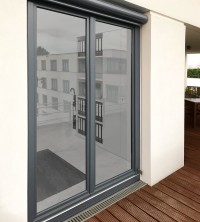
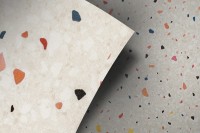
Dichroic colour effect film, cold, opaque
- self-adhesive
- Indoor assembly, Outdoor installation

Price per m² from: €43.96 Price per m²: €39.56 Price per m²: €43.96 incl. VAT plus shipping costs. Item no. 223905
Delivery time approx. 3-6 days
CNC cutting accurate to the millimetre
free assembly tool
| Privacy screen | high |
| Light transmission | without |
| Transparency | without |
| Design | without |
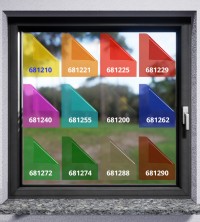
| Colour | various |
| Liability | self-adhesive |
| Mounting side | Indoor assembly, Outdoor installation |
Start WhatsApp chat
An explosion of colours
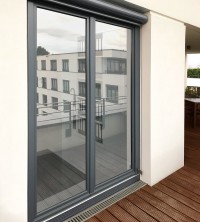
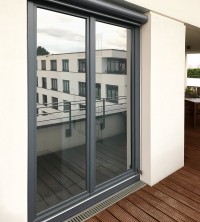
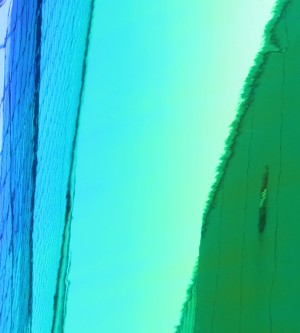
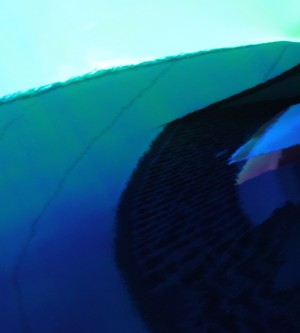
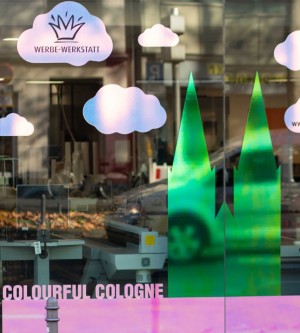
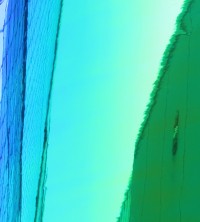
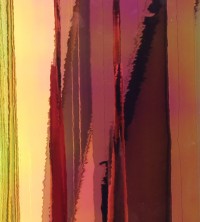
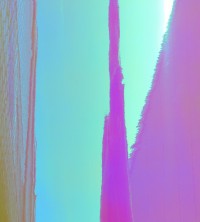
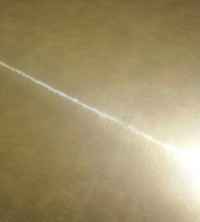
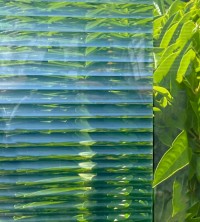
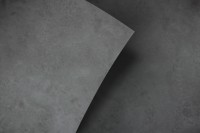
This dichroic (Greek dichrous = two-coloured) colour effect film glows with a beautiful sheen of warm colours from dark blue to green. When the viewing angle or lighting conditions change, the film produces fluid colour changes.
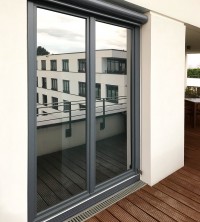
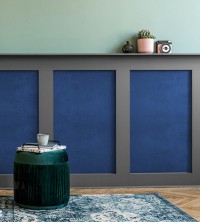
It is suitable for both indoor and outdoor applications and is perfect for eye-catching logo plots, lettering, slogans, embellishments and more.
Most common application
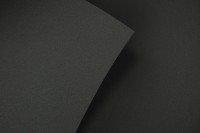
Due to its beautiful play of light, it is particularly suitable for surfaces that are to be decorated with such great effects. The reverse side of the film is black. Not recommended for mounting on outgassing surfaces (e.g. non-tempered acrylic glass).
Advantages of this film
- Creates fluid colour changes when the viewing angle or lighting conditions change.
- Suitable for application to smooth surfaces
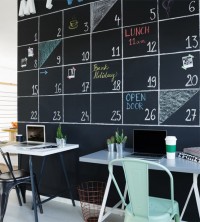
- Create eye-catching logo plots, lettering, slogans, wall tattoos and more
- Easy to handle due to their thickness of 160 µm
Durability
Depending on various factors, the durability of films for outdoor installation is 2 to 3 years in Central Europe.
| Technical data | |
|---|---|
| Material | Polyester, metallised with effect coating |
| Film thickness | approx. 160 µm |
| Adhesive | Polyacrylate adhesive |
| Temperature resistance | -30 °C to +80 °C |

Assembly instructions for Privacy films (self-adhesive)
You will need the following items
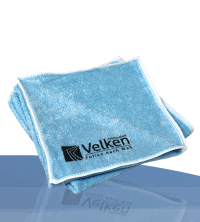
- Plastic bottle with hand sprayer, adhesive tape, paper towels (not included)
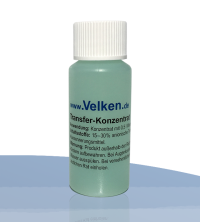
- Transfer concentrate (not included)
- Glass cleaner (not included) or commercially available glass cleaner
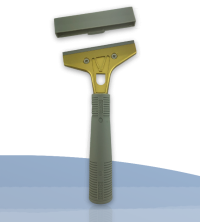
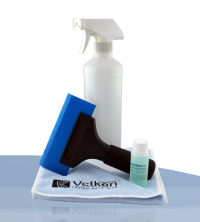
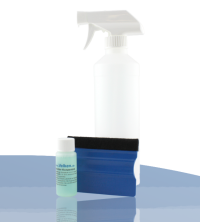
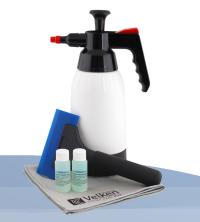
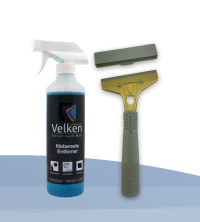
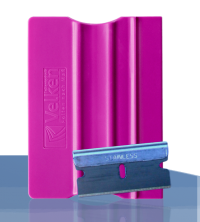
- Installation squeegee and glass scraper blade (included free of charge in the delivery).
Installation tips
- Two people should carry out the installation!
- Do not install any film at temperatures on the installation side below +6° C.
- Fill the spray bottle with 0.5 litres of water and add the transfer concentrate (30 ml) (enough for approx. 6 to 7 m² of glass surface).
-
Thoroughly clean the glass with commercial or our glass cleaner!
Remove all sticky particles (e.g. paint or fly dirt) preferably with the glass scraper blade. No dirt residues should remain on the glass! - The sandblasting foil consists of the mostly white backing paper and the actual sandblasting foil.
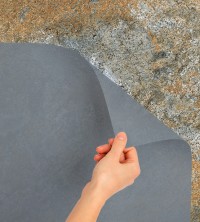
Now place the sandblasting foil with the view side down on the glass pane or similar. You are now looking at the back of the film.
Then carefully and slowly peel off the backing paper at as shallow an angle as possible until it is about halfway along the entire length of the film. Cut the backing paper and stick it back onto the sandblasting film with a gap of about 2 cm to the remaining backing paper. - Now hold the in place while the 2nd person
starting from the corner, and at the same time spray the adhesive side of the that is now exposed with the liquid.
Afterwards, the glass pane (surface to be pasted) must be sprayed with the liquid. Do not be sparing with the liquid, the film and pane should be well wet. - Place the on the glass, the film should slide back and forth well, otherwise spray the glass again.
- Now spray the other side of the as well, this will make it easier for you to work with the mounting squeegee.
- Now press the liquid out evenly with the mounting squeegee from the centre to the right and to the left. Make sure that there is no residual water left under the film! Repeat this procedure several times to remove even invisible water residues. When doing this, wrap the supplied squeegee with a paper towel to avoid any scratches.
- Carefully wipe the edges and the foil with a soft cloth. If necessary, press the edges again with the mounting squeegee.
- Now let the dry for three days without touching it.
- Wait two weeks before cleaning the film for the first time and never use hard objects (brush or blade) to clean it. Commercially available glass cleaners can be used.
FAQ`s about the installation
Can I carry out the film installation alone?
For larger pieces, it is recommended that two people carry out the installation. This makes it easier to handle the film and place it on the pane.
How can I avoid dust inclusions under the adhesive back side?
In addition, do not lay the after peeling off (covers the adhesive side for transport) on the floor to get it wet. Rather, pull a table nearby to spray the film on. On the floor you will always stir up very fine dust particles, which will then settle on the adhesive side facing upwards. These dust particles can later show up on the pane under the , which is something to avoid.
Can I apply the without transfer concentrate?
We strongly advise against the use of water diluted with detergent. This can lead to streaking due to a reaction with the film adhesive.
Does the film have to be applied perfectly to the glass at the first attempt?
After mounting, small bubbles formed the next day
In any case, you should wait this time and do nothing. In most cases, the blisters disappear all by themselves!
How easy is it to remove the film?
It is possible that residues of the film adhesive remain in some places. These can be soaked with our adhesive remover or acetone and then removed again with a glass scraper or ceramic field scraper. You will find detailed instructions on how to remove window films on our homepage in the FAQ`s.
We will be happy to send you a free sample of this and up to four other films without obligation.
The samples are approx. 9 x 9 cm in size and will be sent to you free of charge and without obligation by letter post.
|
1. select sample (max. 5 pieces)
|
||
|
Dichroic colour effect film, cold, opaque Art.-Nr. 223905 |
|
|
Please select at least one sample!
|
||
- Germany
- Austria
- Switzerland
- Belgium
- Denmark
- France
- Gibraltar
- Greece
- Ireland
- Italy
- Liechtenstein
- Luxembourg
- Malta
- Monaco
- Netherlands
- Norway
- Poland
- Portugal
- Sweden
- Slovakia
- Slovenia
- Spain
- Czech Republic
- United Kingdom
- United States of America
We have received your foil requests.
The samples are usually sent to you within one working day.

Foil expert Martin Siegel - Managing Director
» Do you have any questions about this item? I'm happy to help!«


Assembly instructions
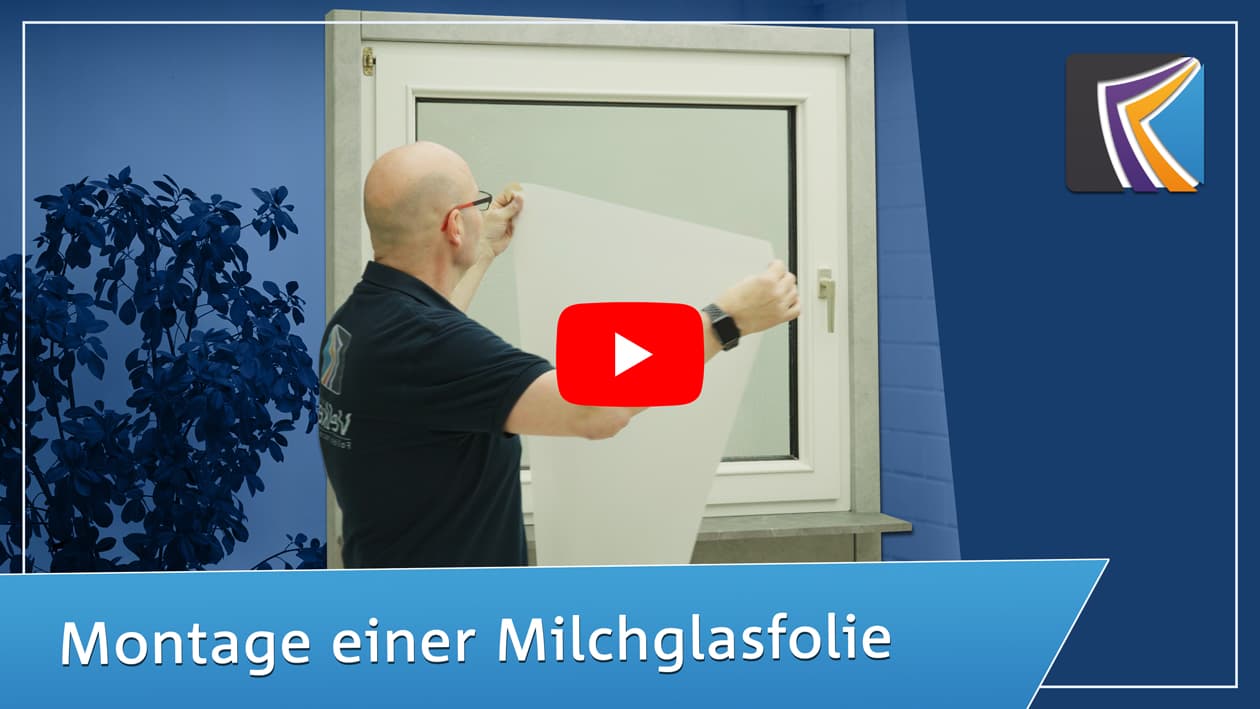
Tool for easy assembly
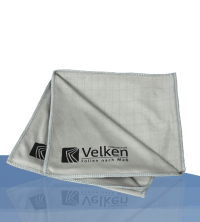
The tool sets and accessories offered by Velken will be very useful for the success of your installation! Adhesive films, electrostatic films, decorative coatings... for each product there is the appropriate tool.
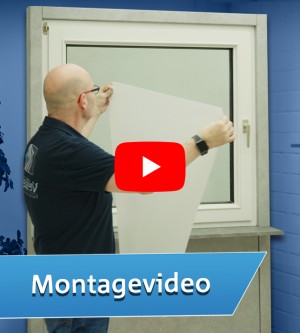
In addition to the assembly video, take a look at the detailed assembly instructions.















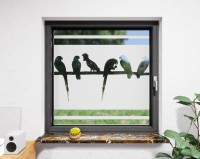
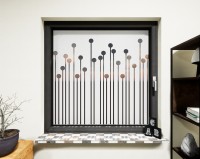
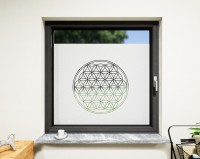
Rate this item objectively and share your buying experience with other visitors.
As a thank you, we will reward you with a shopping voucher* of up to 10€ for your next purchase.
*Voucher valid for 1 year, redeemable from 30€ value of goods (5€ voucher) or 50€ value of goods (10€ voucher), max. 1 voucher per order, not combinable.
The voucher will then be sent to you by email.
You will receive an email from us after the rating has been activated in which you will find the shopping voucher.
New reviews are activated by us every working day.
The company Velken-Folientechnik GmbH accepts this assignment and ensures the necessary data protection.

